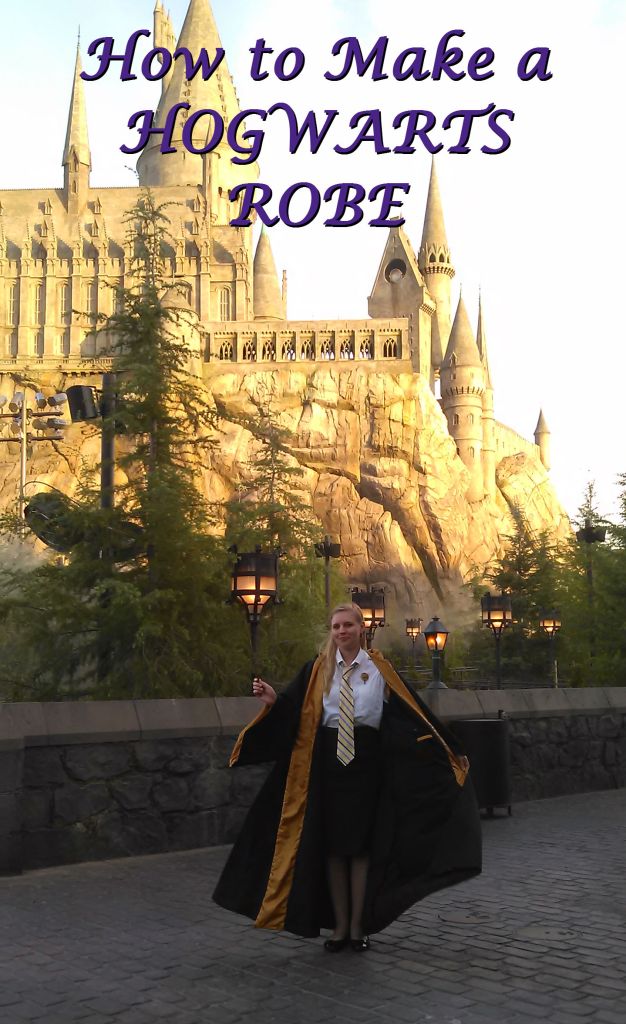
At the Wizarding World of Harry Potter, Universal Studios Hollywood
Making a Hogwarts robe was always something I had wanted to do. What better time than when they are finally opening The Wizarding World of Harry Potter in Hollywood!
So one time, I was at my friend Jessica’s house with a few people, and they were all taking the sorting hat quiz. One by one they got the result they had expected, and then it was my turn. As I continued taking the test, each question filled me with more worry–“oh no… I’m going to be a Hufflepuff.” It came to the end of the test, and there it was. I was a Hufflepuff.
I didn’t know what to think. We laughed for a bit, but after a few days, I really began to think about it. Not gonna lie, I did some soul searching. That’s when I found a few videos to help me figure this out, including a few silly ones like “Sorted this Way” by Not Literally and some more helpful ones like JK Rowling on why Hufflepuff is her favorite house. (Hint-Hufflepuffs stay to defend–ahem something– at the end of the 7th book for a different reason than the Griffindors. For them, it wasn’t at all based on showing off or being fool-hearty. They did it knowing the risks.) As the song says, now “I’m Hufflepuff and I’m proud!”
So naturally, I wanted a Hufflepuff robe, so Angela and I went looking for fabrics and tutorials. Thankfully, I didn’t make the robe before I was sorted into Hufflepuff! I guess I always thought I was a Griffindor because I didn’t know much about Hufflepuff and didn’t identify with the other two. As we saw some pretty awesome fabrics, we talked about how Luna probably made her own Hogwarts robes with fun patterned fabric instead of just plain blue, and how fun it would be to have fabric with cool designs on them. Now you can make your own robe however you want!
Anyway, you’re here to learn how to make your very own Hogwarts robe! I started with this Tutorial from Livejournal user Propaganda-13 and continued making alterations until we ended up with this tutorial. Let’s get started!
